Wedding group photos: the list, the order, the poses
Which group photos to take at your wedding, in what order, how long each group takes and where everyone stands: the list, the timing and some pose ideas.
Group photos have a bad reputation, and it is deserved: they drag on, people have to be found all over the place, the drinks reception empties, and nobody is really smiling by the twentieth one. And yet, they are the photos your family will look at the longest. Here is the list of group photos to take at your wedding, in the right order and with the time each one needs, how to arrange people, the best moment in the day, and the backup plans (rain, blended families) to get it all done in under half an hour.
The list of group photos, in the recommended order
These are the classic wedding group photos, in the order we suggest you take them, with the time to allow. The logic: start with the people who most need to sit down, then begin with the closest circle and widen it step by step. Each new group adds people to the previous one, and nobody waits around for nothing.
| Order | Group | Time to allow |
|---|---|---|
| 1 | The couple with their grandparents | 1.5 to 3 min |
| 2 | The couple with their parents, one side then the other | 3 min |
| 3 | Close family (parents, brothers and sisters, partners, children), one side then the other | 3 min |
| 4 | Both close families together | 1.5 min |
| 5 | Extended family (aunts, uncles, cousins), one side then the other | 3 min |
| 6 | The wedding party (best man, maid of honour, bridesmaids, groomsmen, flower girls and page boys) | 1.5 min |
| 7 | Friends, group by group (childhood, university, sports club, old flatmates) | 1.5 min per group |
| 8 | Colleagues, from one side then the other | 3 min |
| 9 | All the guests | 5 min |
With three groups of friends, the full series takes about 25 minutes, big photo included. If your schedule is tight, keep groups 1 to 6 and the big photo right after the ceremony, and do friends and colleagues later, at their table or on the dance floor: they will be happy to pose with a drink in hand.
Why family first? Because grandparents and older guests can then go and sit down, and the children aren’t tired yet. Your friends will happily wait at the drinks reception. This list expands the “groups” section of the 50-photo wedding shot list.
1. Write the list, with names
This is 90% of the work. A written list, with names: not “the family”, but “Dad, Mum, my sister, her husband, the two children”. Aim for 8 to 12 groups at most. Beyond that, you will spend an hour on it. One line per group is enough, for example:
- Group 2: the two of us with Mum and Dad (Lea’s side), then with Anne and Philip (Marius’s side).
- Group 3: + Julian (Lea’s brother), Sarah, Ines and Noah.
- Group 7: the school gang: Hugo, Chloe, Yanis, Megan, Theo.
Print two copies: one for the photographer, one for the person rounding people up. And send it to the photographer a week or two before, so they can plan the spot and the space needed.
2. Give the list to a best man or bridesmaid who “calls” people
The classic mistake is letting the photographer call people: they don’t know anyone. Give this role to a best man, a brother or a cousin who has a loud voice and knows everyone. List in hand, they call the next group while the current group is posing. You never lose a second, and all you have to do is smile.
A few habits that make all the difference:
- One caller per family if the two families don’t know each other well: each one knows what “Uncle Bernard” looks like.
- Announce the whole list as you leave the ceremony: “family photos straight away, then the wedding party, then friends”. The people concerned stay close by.
- Tick groups off as you go: at the end, one glance tells you if a group is missing.
- Plan for missing people: if the great-aunt has gone to the loo, do the next group and come back to her.
3. How to arrange people
The photographer handles some of this, but knowing the basic rules saves time, especially if the caller can get the next group ready to one side.
| Group size | Arrangement |
|---|---|
| Up to 8 people | A single row, in a slight curve, with the couple in the middle. |
| 8 to 20 people | Two rows: shortest at the front, tallest at the back, staggered (each face in the gap between two heads). |
| More than 20 people | Three rows: children sitting or crouching at the front, adults standing in the middle, the tallest at the back, on a step or a bench. |
For a family group of fifteen, that gives you, from back to front:
- Back row: the tallest (brothers, uncles, cousins), standing, on a step if possible.
- Middle row: the couple in the centre, parents on either side, then brothers, sisters and partners.
- Front row: the grandparents on two chairs just in front of the couple, children sitting on the ground or standing in front.
And the instructions to repeat for every group: squeeze in much more than you think, couples side by side, shoulders turned slightly towards the couple, nothing in your hands (no glass, no bag, no phone), and everyone looks at the camera. Have two chairs on hand: the grandparents will thank you.
4. Find the spot beforehand
A shaded place, with a simple background (a wall, a hedge, a façade), less than two minutes’ walk from the drinks reception. Bright sunlight casts shadows under the eyes and makes everyone squint. A white sky in the background burns out the photo. Scout this spot when you visit the venue, not on the day, and check it is wide enough for the biggest group on your list.
5. The right moment in the day
The best slot is right after the ceremony, at the start of the drinks reception, when everyone is still gathered in the same place and nobody has started to wander. Have it announced on the way out: “group photos for twenty-five minutes, we’ll join you straight after”. Meanwhile, the drinks reception gets going for everyone else: they have a glass and something to nibble, nobody is bored. If you wait until the middle of the drinks reception, you will spend twenty minutes looking for three people.
A sample timeline, for a ceremony starting at 3pm:
- 3.45pm: leaving the ceremony, congratulations, confetti.
- 4.00pm: family photos, then the wedding party (about 15 minutes).
- 4.15pm: friends and colleagues, then the big photo of all the guests.
- 4.30pm: the couple join the drinks reception, or head off for their couple shoot.
There are two variations. At a register office or town hall, the big photo on the steps is a classic, but time is short: another wedding is often waiting behind you. Only take the photo of all the guests there, and keep the groups for the reception venue. With a first look before the ceremony (you see each other privately beforehand), you can bring the close family photos forward to before the ceremony, and keep only the big groups for afterwards.
6. The 90-second rule
One group = 90 seconds. The photographer takes three or four pictures, and you move on to the next. That is plenty: beyond that, smiles freeze and the group drifts apart. Time is almost never lost during the photo itself, but between two groups, while someone is being looked for. Hence the importance of the caller.
“We announced it on the microphone: group photos, twenty minutes, starting with the grandparents. Nobody complained.” Léa & Marius · 2026
The big photo of all the guests
It is the most spectacular photo, and the hardest: a hundred people don’t fit into a frame taken at eye level. The secret is height.
- A balcony or an upstairs window: the photographer stands above, the guests squeeze together below and look up. Everyone is visible, even in the back row.
- A staircase: guests stand on the steps, and each row naturally ends up higher than the one in front. The steps of a town hall or a church work very well.
- A sturdy stepladder, if the venue has neither balcony nor stairs. Two or three steps are already enough to change the photo.
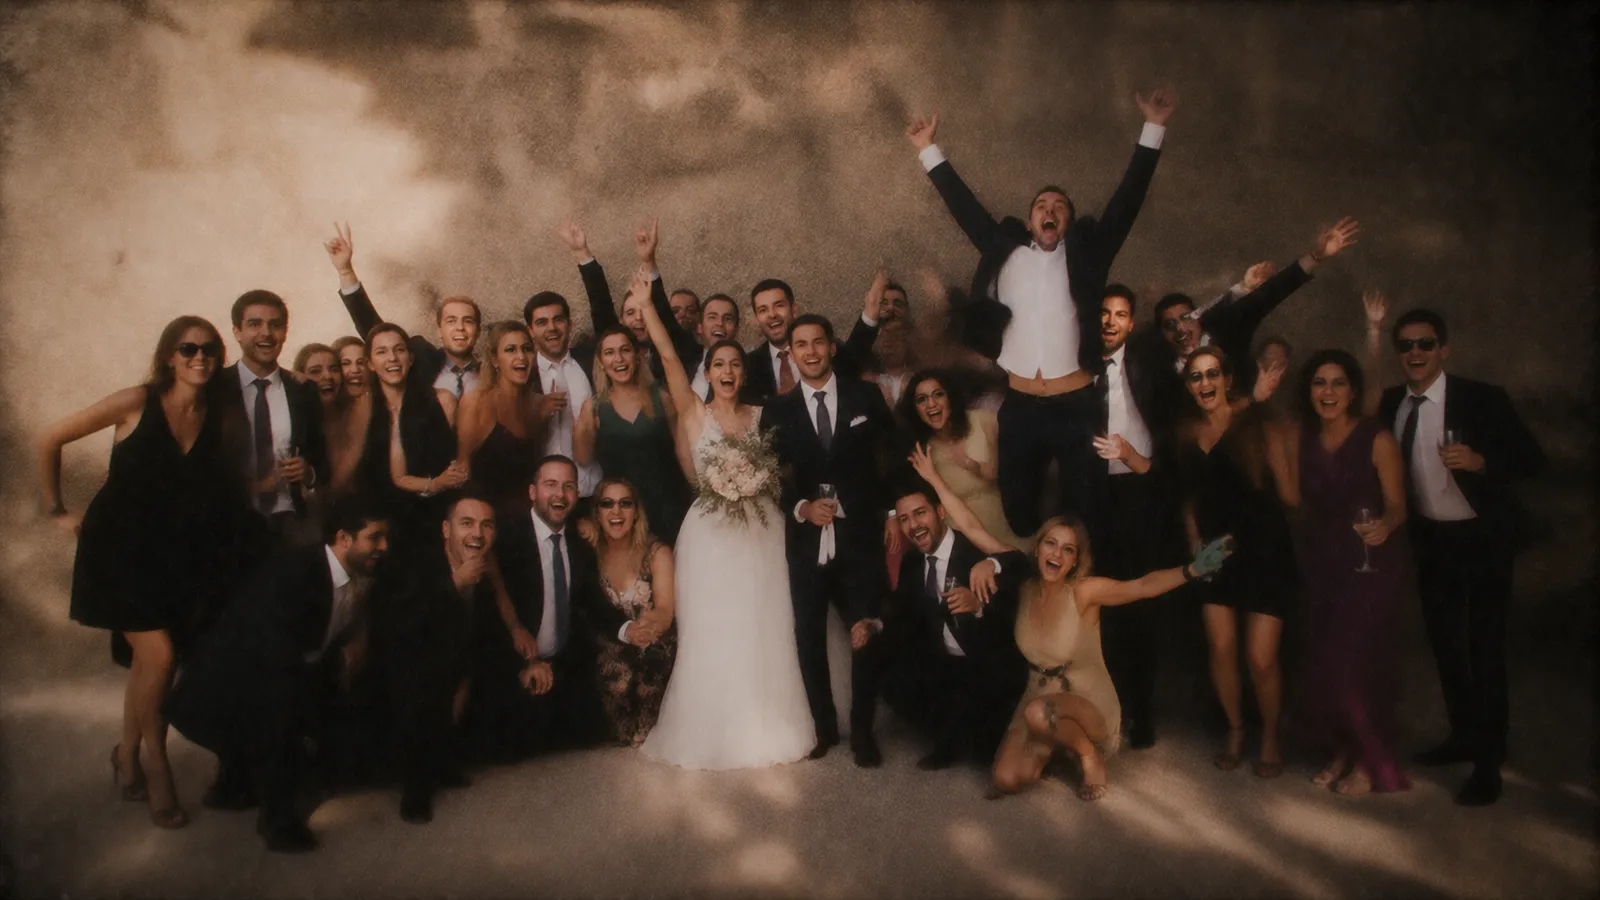
Three instructions for the caller to pass on: squeeze in much more than you think, shortest people and children at the front, and everyone looks at the camera, not at the couple. Take a sensible version, then one where everyone raises their arms and cheers: that is often the one you frame. And scout the balcony or staircase during your venue visit, like everything else.
Blended families
It is the subject nobody dares raise, and the one that causes the most awkwardness on the day when it hasn’t been prepared. A few simple rules:
- Decide beforehand, with your partner, who poses with whom. Nothing is worse than improvising in front of everyone.
- Plan one photo per parent: the couple with Dad and his partner, then with Mum and her husband. Everyone gets their photo, nobody is left out.
- If divorced parents get on well, a photo with both birth parents is possible: ask them beforehand, not on the spot.
- Put the couple in the middle: when both families pose together, the couple naturally act as the link between the two sides.
- Write it down on the list (“Dad and Claire”, “Mum and Bruno”) and quietly brief the caller. It will avoid any blunders.
- Remember half-brothers and half-sisters: they are close family, and belong in group 3.
And if a loved one who has passed away is missing, some couples have a parent hold a framed photo of them in the family picture. It is a personal choice: talk it over with your family beforehand.
What if it rains?
Rain shouldn’t make you skip the group photos, only move them. Plan your backup during the venue visit:
- Find a shelter: a covered walkway, a barn, an entrance hall, a church porch, or the reception room before the tables are laid. Check that it is bright enough.
- Shorten the list: keep families and the wedding party under cover, and move friends and colleagues indoors, during dinner or the party.
- Take the big photo from above: from an indoor staircase or a mezzanine overlooking the room, everyone fits in the frame.
- Watch for a dry spell: a shower rarely lasts long. The photographer and the caller can gather everyone in five minutes as soon as it stops, if the list is ready.
- Have fun with it: a few clear umbrellas (they don’t darken faces) make for great group photos in light rain.
Fun group pose ideas
Right after each group’s “official” photo, ask for a second, freer take. It is almost always the one you keep. A few ideas that work:
- The jump: everyone jumps on the count of three. It takes three or four tries, and the failed ones are as funny as the good one.
- The walk: the group walks towards the camera chatting, as if they weren’t posing.
- All eyes on the couple: the whole group turns towards the two of you while you kiss.
- The circle from above: guests in a ring, heads close together, the photographer above (from a balcony or a stepladder).
- Sunglasses on: everyone puts them on at the same moment, for an instant album-cover look.
- The class photo: one row sitting, one row standing, arms crossed, looking very serious. It will make everyone laugh in twenty years.
One idea per group, no more: the goal is still to stick to the time you planned.
And meanwhile
Your guests waiting their turn are busy photographing everything else: the giggles behind the scenes, the children escaping, the organising itself. These are often the liveliest pictures of the day (see your guests see what the photographer doesn’t). And later in the evening, the best group photos often happen on their own, among friends on the dance floor: our tips to stop them all coming out dark are in getting good dance-floor photos with your phone.
With Time to Flash, everything your guests capture during those twenty-five minutes, and the rest of the day, lands in the same album, revealed the next day.
Frequently asked questions
In what order should wedding group photos be taken?
Start with the couple and their grandparents, then their parents, then close family on each side, both families together, extended family, the wedding party, friends group by group, colleagues, and finish with the photo of all the guests. That way older guests can sit down quickly.
How long should we allow for group photos?
Allow about 90 seconds per group, and 5 minutes for the photo of all the guests. For 8 to 12 groups, the series takes 20 to 25 minutes. Beyond that, guests drift away and smiles freeze.
When should wedding group photos be taken?
Right after the ceremony, at the start of the drinks reception, when everyone is still gathered in the same place. The other guests enjoy the drinks in the meantime. At a register office, just take the big photo on the steps: another wedding is often waiting.
How do you arrange people in a wedding group photo?
The couple in the middle, parents beside them, the tallest at the back and the shortest at the front, staggered. For more than 20 people, use three rows: children sitting at the front, adults standing in the middle, the tallest on a step at the back. Grandparents can sit on chairs in the front row.
What if it rains during the group photos?
Find a bright shelter during your venue visit (covered walkway, hall, porch, the reception room before it is laid), keep families and the wedding party under cover, move friends indoors during the party, and take the big photo from an indoor staircase. Clear umbrellas also let you pose in light rain.